
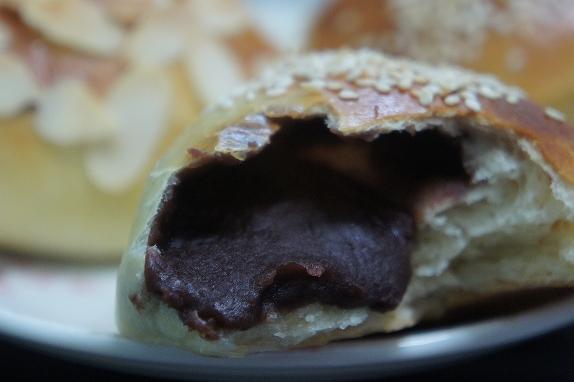
I did not use any starter for this recipe but I guess the extra 2 tablespoons of oil added into the red bean paste act like a bread softener. Its so soft even after I leave it to cool under a strong fan for about 2 hours.
I guessed I have to practise on my shaping skills as the skin of the buns is always too thin resulting in a crispy skin if eaten hot.
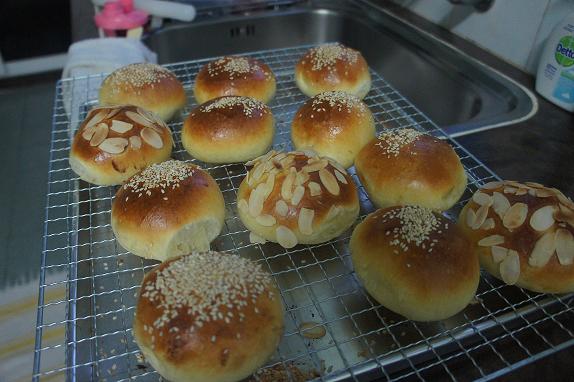
Red Bean Buns with Homemade Red Bean Paste
**Make about 12 buns
For the buns:
320gm Bread Flour
3/4 tsp Yeast
1 Whole Egg
1/4 tsp Salt
160gm Milk
30gm Sugar
50gm Butter
1. In a large mixing bowl, add in everything from (A) except for the butter. Reserve 30gm of the milk to be added in later.
2. Mix under low speed till a dough is form. Add in milk slowly. Wait till all the liquid is absorb before adding in more milk.
3. Add in butter and knead till the dough is smooth, shiny and elastic. When pull apart, dough should form a very thin, almost transparent layer.
4. Leave dough to rise for 60 minutes at a warm place covered with a wet cloth till double its size.
5. Take out the dough from the bowl and put in on a floured working surface. Punch the dough to get rid of the air trapped inside.
6. Divide dough into 50gm each and roll into a round ball.
7. Wrap each dough with red bean filling(about 25gm each), shape into round balls and put it on a lined baking tray.
8. Leave dough to proof in a cold oven for about 1 hour.
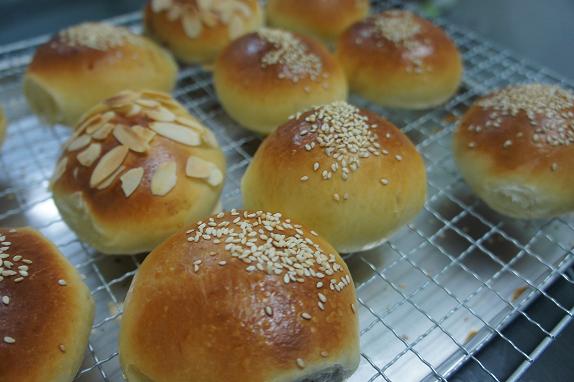
9. After an hour, take the bread dough out and brush lightly with egg wash. Sprinkle some sesame seeds on top for garnishing.
10. Bake in a preheated oven at 160c for about 20 minutes.
For the Red Bean Paste:
250gm Red Bean
500ml Water
Rock Sugar
2 tbsp Corn Oil
1. Wash and drain the red beans and put it into the slow cooker.
2. Fill the slow cooker up with water and switch it on to LOW for about 6 hours.
3. Add rock sugar to taste.
4. Sieve the cooked red bean to get rid of any remaining liquid and blend into a fine paste with a blender/food processor.
5. In a frying pan/wok, heat about 2 tbsp of oil in it.
6. Add in blended red bean paste and lightly simmer and toss till desired consistency is formed.
7. Leave red bean paste to cool and it can be stored in the refrigerator for up to a week.


